Solar energy is the fastest growing industry in India and the Indian government promotes solar energy too.
Electricity demands increasing day-by-day for commercial areas, big cities, etc. due to this reason, there is a higher power cut problem in residential areas, such as villages. Here, we are going to discuss on how to upgrade existing inverter to a solar inverter. Let’s discuss with an example, suppose you have already bought an inverter and battery and its spending was approx. ₹ 20,000.
Electricity demands increasing day-by-day for commercial areas, big cities, etc. due to this reason, there is a higher power cut problem in residential areas, such as villages. Here, we are going to discuss on how to upgrade existing inverter to a solar inverter. Let’s discuss with an example, suppose you have already bought an inverter and battery and its spending was approx. ₹ 20,000.
Now, you are using home appliances, such as Lights, Fans, TV, Refrigerator, Laptops, Mobile Charging on Inverter and Battery. But, the power backup duration is too minimum due to HIGHT POWER CUT PROBLEM.
Are you shocked? Is your investment worth?
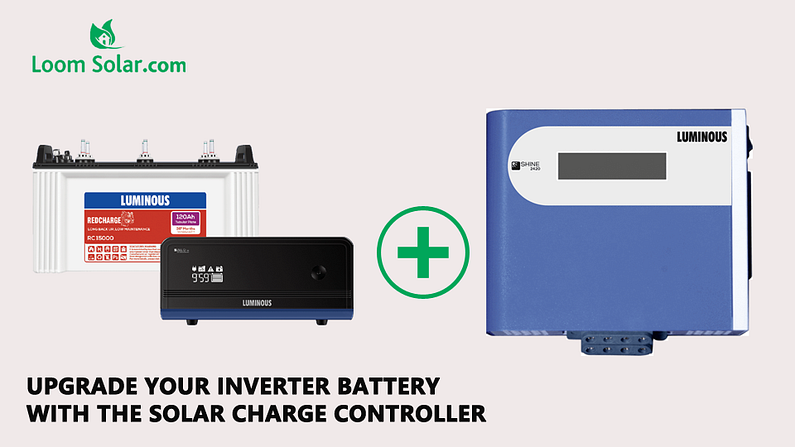
Don’t worry. Now is the time of solar energy. Solar charge controller is the device that is used to convert your normal inverter to a solar inverter. As we know that solar save electricity and also provide electricity 24x7 if you are thinking to move towards solar then luminous has the best technology and service for the same.
You can follow below steps to convert your luminous inverter to solar.
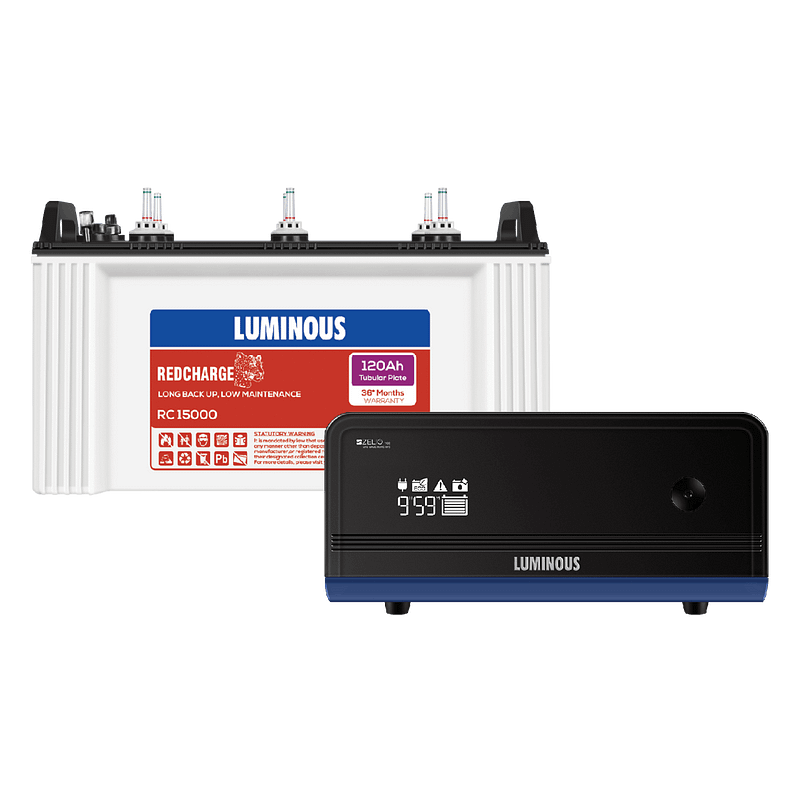
Step 1: Your Existing Luminous Inverter 1 KVA and Battery 150ah
If you are already using luminous inverter and battery, and excited to upgrade it to solar to save electricity bill and to get power back up 24x7.
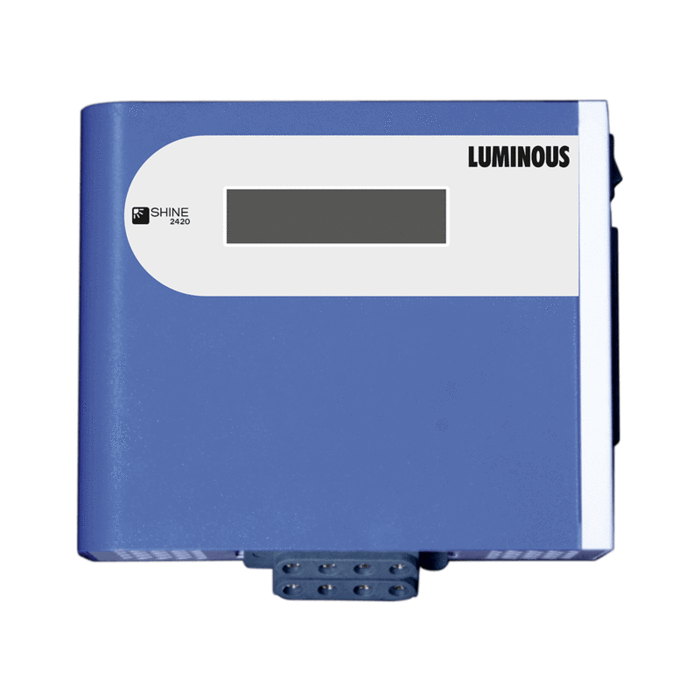
Step 2: Buy Luminous Solar Charge Controller Shine 2420
You need to buy a luminous solar charge controller 12 volt from loom solar, it is used to connect your normal inverter with solar panel and also protect your solar panel for any loss of power efficiency. You will get solar charge controller price Rs. 2500. Besides, you will get solar charge controller manual in the box.
If you want to upgrade it with luminous mppt solar charge controller, you won’t get now as they are not manufactured. You can buy it off so-cam or any other brands. You can buy it of su-kam or any other brands.
Other than this, if you want, you can buy a luminous solar conversion kit, offered by Loomsolar, it covers all basic components and accessories to install the product.
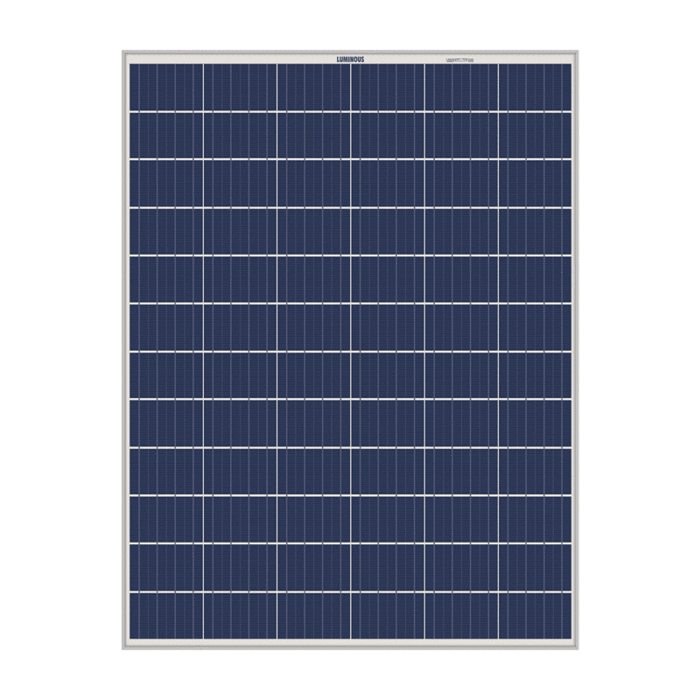
Step 3: Buy Luminous 1 kW Solar Panel (270W x 4)
You have 1Kva Inverter so you would install 1 kW solar system to recharge your 150ah, 12 volt battery. It will give you power back up of 3–4 hrs. And will recharge your battery in 5–6hrs during the day.
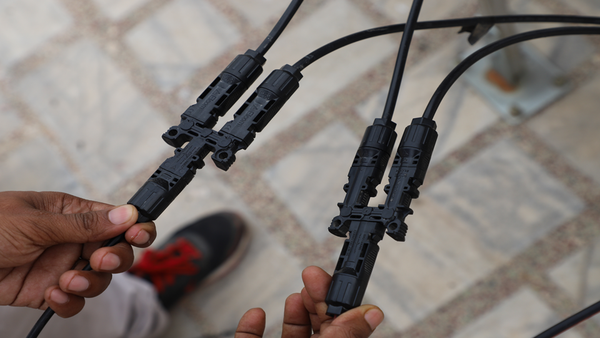
Step 4: Buy DC Wire 25 Meter with MC4 Connector
To connect your solar modules with solar charge controller you would need approx. 20 meter DC wire as you would keep your panel on roof tops and your inverter and controller would be in your home on the ground.
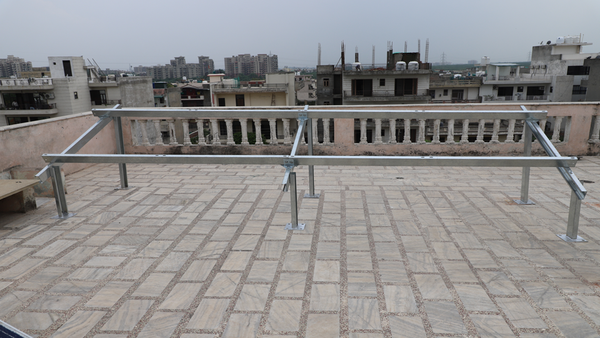
Step 5: Purchase Solar Mounting Structure 1KW
To fix your solar panel on roof, you would need mounting structure. It provides safety to the solar panel during big storms, while monkey jump suddenly on your panel.
Conclusion:
You are planning to buy a solar charge controller, Luminous solar charge controller is suitable for your existing normal inverter battery. You can place orders online from Loom Solar and get delivery within 3 days at your place. For more information about the solar charge controller or solar retrofit, you can call Loom Solar customer care number and know its benefits, technical specification, pricing, and more.


Thank you for sharing your useful information. It is very attractive and effective post. I hope you will post again soon. Kindly Regards Luminous Inverter In Chennai
ReplyDelete